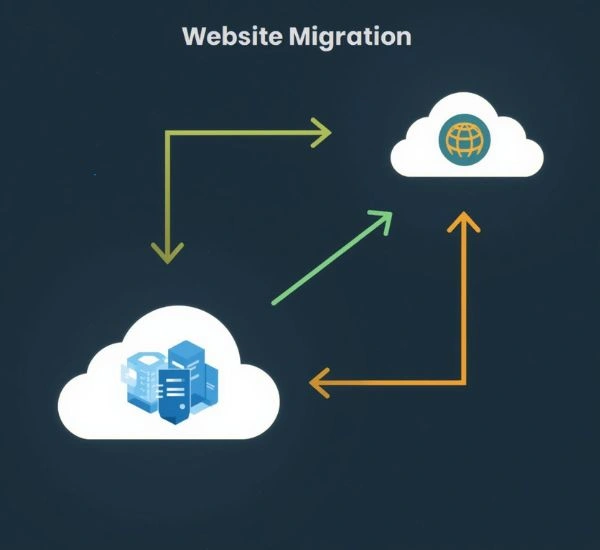
How to Migrate a Website to a New Host Without Losing SEO & Traffic

Migrating your website to a new hosting provider can feel overwhelming. One wrong step and you risk losing valuable search rankings, organic traffic, and website data. But the good news? With the right process and planning, you can migrate your website to a new host smoothly — without hurting your SEO performance.
Regardless of whether you’re changing hosting providers for speed, security, price, or to receive better support, the end goal is the same: to migrate the website to its new hosting plan without affecting search visibility or user experience.
This guide explains everything you need to know about SEO-friendly website migration, common mistakes to avoid, and step-by-step instructions to ensure you keep SEO rankings after website migration.
Why Website Migration Can Hurt SEO
Improper migration can lead to:
- 404 errors (broken links)
- Loss of meta tags and structured data
- Indexing issues
- Changes in website structure or URLs
- Downtime affecting Google crawlability
- Slow loading speed temporarily
- Loss of backlinks or internal link value
These mistakes can lead to a decline in rankings and organic traffic. That’s why planning matters — to reduce site migration SEO impact and maintain your hard-earned authority.
Step-by-Step Guide to Migrate Website Without Losing SEO
1. Backup Your Entire Website
Before any migration begins, create full backups of:
- Database
- Website files (theme, plugins, media files)
- DNS records
- Emails (if hosted on the same server)
This ensures that you can easily restore your site in the event of any issues.
Pro Tip: Utilize automated backup plugins or request a backup service from your hosting provider.
2. Choose the Right New Hosting Provider
When migrating, selecting a reliable hosting provider is critical. Look for:
- Fast performance & uptime
- Secure server environment
- Easy migration tools
- Strong support team
- Scalability options
- Staging environment availability
If you’re running a WordPress website, consider using a dedicated WordPress hosting service for optimal performance, seamless updates, and enhanced security.
Better hosting = better SEO performance.
3. Use a Staging Environment Before Launching
Never migrate directly to the live website.
Use a staging setup to:
- Test migration
- Check plugins & theme compatibility
- Review UI/UX
- Test forms & functionality
- Ensure SEO tags (metadata, schema, headings) remain intact
This prevents errors from affecting your live site and traffic.
4. Keep Your URL Structure the Same
Changing URLs during migration is one of the biggest risks to SEO.
Maintain the same permalink structure
Keep internal links intact
Avoid unnecessary redirections
If you must change URLs, ensure that proper redirects are implemented (next step).
5. Set Up 301 Redirects Correctly
For any URL changes, use 301 redirects, not 302.
Three hundred one redirects tell Google that a page has permanently moved — preserving SEO equity. Failure to do this causes ranking drops and traffic loss.
Redirect checklist:
- Map old URLs to new URLs
- Test redirects before launch
- Avoid redirect loops & chains
6. Switch DNS Records Properly
When pointing your domain to the new host, update DNS settings without removing the old hosting immediately. DNS propagation can take up to 48 hours to complete.
To avoid downtime:
- Keep the old hosting active temporarily
- Point the domain carefully
- Test the website after the DNS update
For easier domain management, consider using a secure domain transfer service with expert support.
7. Migrate Email Hosting (If Applicable)
If your email is linked to your host, also migrate your mailbox settings. Losing email access during migration is a common mistake. Set up email backup and recreate accounts on the new server.
8. Verify Google Search Console & Analytics Tracking
Once live on the new hosting:
- Verify the site in Google Search Console
- Submit a new XML sitemap
- Check crawl errors
- Validate redirects
- Monitor traffic & indexing
Also, confirm Google Analytics tracking is still active. Missing tracking scripts means zero analytics insights.
9. Monitor Website Performance
Even after migration, track:
- Page speed
- Broken links
- Mobile responsiveness
- Server uptime
- Crawl stats
- Keyword rankings
Monitoring helps ensure a seamless website migration without compromising SEO success.
Extra SEO Tips During Website Migration
| Task | Why It Matters |
| Export SEO settings | Ensures metadata, schema remain intact |
| Minimize downtime | Avoids search engine re-crawl issues |
| Use same content | Prevents accidental content duplication issues |
| Update canonical tags | Protects site authority |
| Retain robots.txt & sitemap structure | Ensures consistent crawling |
Keeping everything consistent reduces site migration SEO impact.
Common Website Migration Mistakes to Avoid
Avoid these costly errors:
- Not backing up the site properly
- Choosing cheap, poor-quality hosting
- Skipping staging environment
- Changing URL structure unnecessarily
- No 301 redirects
- Forgetting to move analytics & tracking tags
- DNS settings were done incorrectly
- Launching without testing
- Removing the old host too soon
Just one mistake can hurt your search ranking — and recovering takes time.
Why Choose Experts for Website Migration?
A professional hosting & migration partner ensures:
- Zero data loss
- No downtime
- Preserved SEO rankings
- Faster loading speed
- Secure server setup
- 24×7 support
- No technical risk
Explore reliable domain hosting services and professional migration support to protect your website and SEO investment.
Final Thoughts
It’s possible to migrate your website without losing any traffic or rankings. When you take a structured approach – which includes backups, staging, redirects, and SEO checks – you can have a successful SEO-friendly website migration.
Top of Form
Bottom of Form

